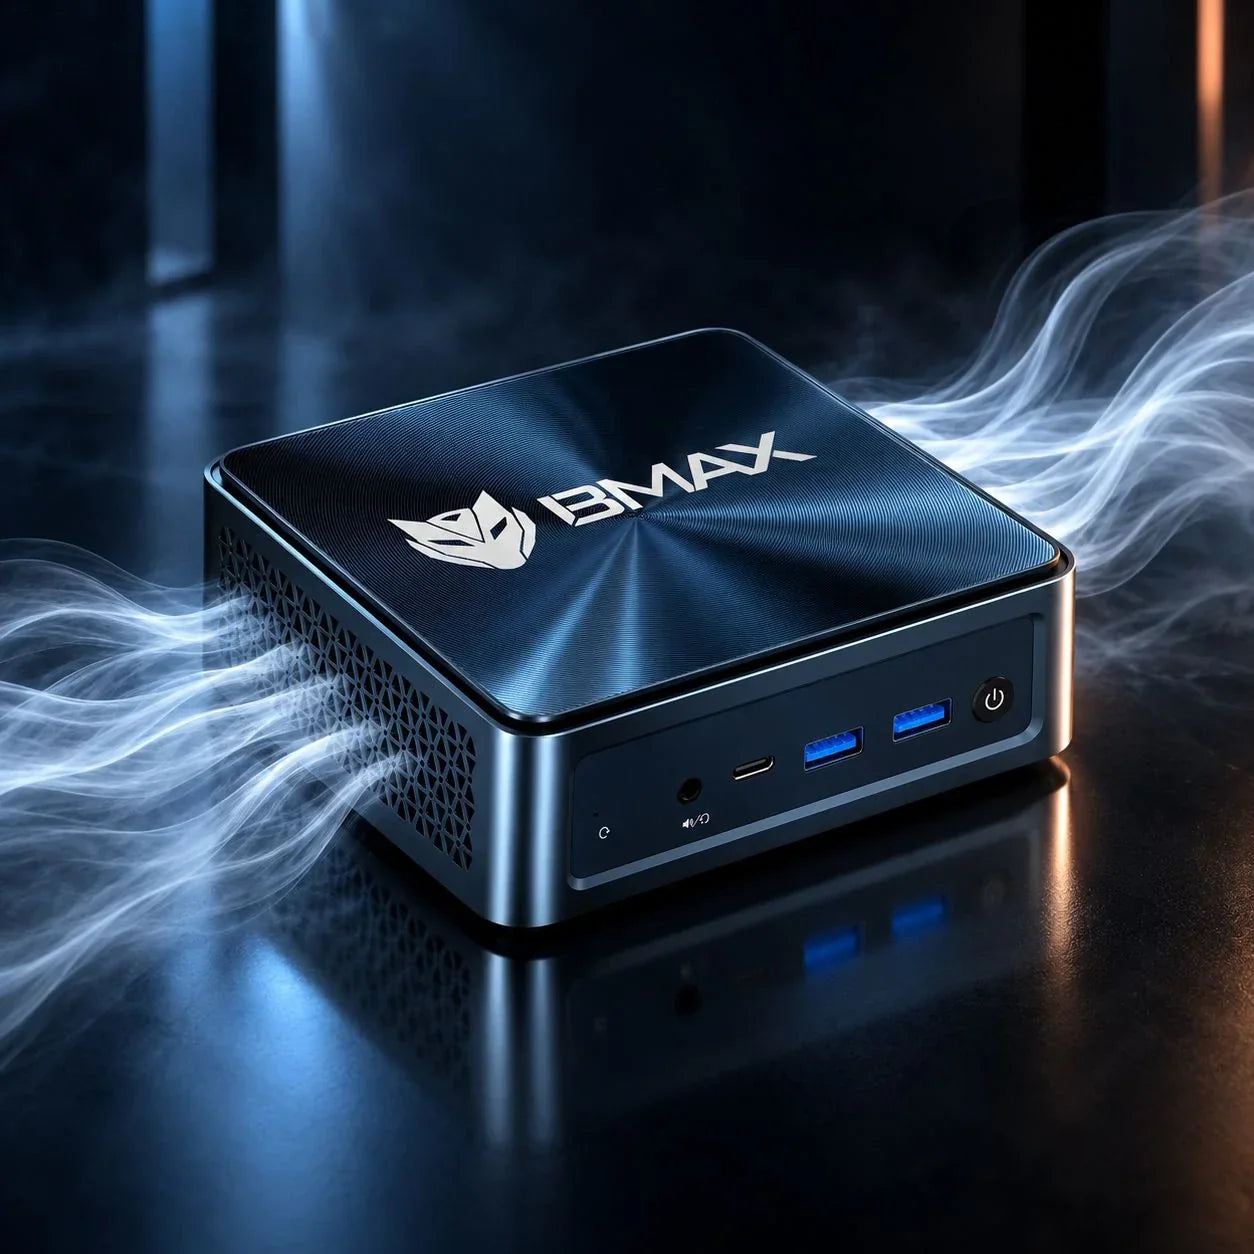
Los mini PC son maravillas de la ingeniería. Concentran toda la potencia informática de una torre de escritorio en un chasis no más grueso que un libro de texto.
Sin embargo, debido a que sus componentes internos están muy juntos, dependen en gran medida de un flujo de aire optimizado y de canales de refrigeración limpios para mantenerse en buen estado. Con el tiempo, cada ordenador actúa como una pequeña aspiradora, succionando polvo, pelo de mascotas y residuos suspendidos en el aire a través de sus rejillas de ventilación.
Si has notado que el ventilador de tu mini PC suena como un motor a reacción, o si tu sistema se siente lento debido a la limitación térmica, es hora de una buena limpieza a la antigua usanza.
Aquí tienes una guía paso a paso sobre cómo limpiar, desempolvar y mantener tu Mini PC de forma segura para que funcione rápido y sin sobrecalentamiento durante muchos años.
Por qué es importante el mantenimiento de los mini PC
A diferencia de las grandes torres de escritorio que tienen mucho espacio interno vacío para absorber el calor, un PC de formato micro deja muy poco margen de error.
Cuando el polvo obstruye las rejillas de ventilación, recubre las aletas internas del disipador de calor o bloquea el ventilador de refrigeración, el calor queda atrapado dentro del chasis. Para evitar daños permanentes en el hardware, el procesador activa automáticamente estrangulamiento térmico—reduciendo su rendimiento para bajar la temperatura.
La limpieza regular garantiza:
-
Jornadas laborales más tranquilas: Tu ventilador no tendrá que girar a las máximas revoluciones por minuto solo para navegar por internet.
-
Rendimiento estable: Sin retrasos repentinos ni caídas de fotogramas durante cargas de trabajo intensas.
-
Mayor vida útil del hardware: Las temperaturas de funcionamiento promedio más bajas protegen la CPU, la unidad SSD y la memoria RAM de una degradación prematura.
Guía paso a paso: Cómo limpiar tu mini PC
No necesitas un título en ingeniería informática para limpiar un Mini PC, pero sí... hacer Se necesita paciencia y las herramientas adecuadas.
Lo que necesitarás:
-
Una lata de aire comprimido (Nunca utilice un compresor de aire de alta potencia, ya que la humedad a alta presión puede dañar los aparatos electrónicos).
-
Un lugar limpio y seco paño de microfibra.
-
Una precisión Juego de destornilladores de cabeza Phillips.
-
Alcohol isopropílico (70% o superior, opcional para limpiar superficies de plástico).
Paso 1: Apague y desconecte todo
La seguridad es lo primero. Apague completamente su mini PC a través de Windows, desconecte el adaptador de corriente y todos los cables externos (HDMI, adaptadores USB, Ethernet, etc.). Coloque el dispositivo en un espacio de trabajo limpio, bien iluminado y libre de estática (como una mesa de madera o plástico).
Paso 2: Limpie primero las rejillas de ventilación externas.
Antes de abrir la carcasa, retire el polvo de la superficie. Tome su lata de aire comprimido y aplique ráfagas cortas y controladas en todas las rejillas de ventilación externas, tanto de entrada como de salida.
-
Consejo profesional: Sujete siempre la lata de aire comprimido. vertical. Si lo inclinas hacia un lado, el propelente líquido puede rociar tus aparatos electrónicos.
Paso 3: Abra el chasis inferior (si le resulta cómodo).
Muchos miniordenadores están diseñados pensando en la facilidad de acceso, lo que a menudo requiere desatornillar cuatro pequeños tornillos ocultos bajo las patas de goma de la placa inferior.
-
Retire con cuidado la cubierta inferior. Tenga cuidado de no tirar bruscamente, ya que algunos modelos conectan un cable de almacenamiento SATA o un cable plano de antena Wi-Fi directamente a la placa posterior.
(Si está abriendo su dispositivo para actualizar componentes mientras lo limpia, consulte nuestra Guía de actualización de RAM y almacenamiento para mini PC).
Paso 4: Elimine el polvo interno con aire comprimido.
Con el chasis abierto, busque pelusas atrapadas alrededor de las aspas del ventilador de refrigeración y las aletas metálicas del disipador de calor.
-
Utilice ráfagas cortas de aire comprimido para eliminar el polvo.
-
Advertencia crucial: Sujete suavemente las aspas del ventilador de refrigeración con un palillo de dientes o un hisopo de algodón para que no gires salvajemente Con aire comprimido. Hacer girar un ventilador demasiado rápido con aire comprimido puede actuar como un generador, enviando un voltaje eléctrico inverso a la placa base y quemando componentes.
Paso 5: Volver a ensamblar y probar
Una vez que el interior esté limpio y libre de polvo, vuelva a colocar con cuidado la placa inferior en su sitio, ya sea encajándola o atornillándola. Vuelva a conectar todo y encienda el equipo. Debería notar de inmediato que el ventilador funciona más silencioso y que la temperatura de funcionamiento es más baja.
Hábitos proactivos para mantener tu mini PC libre de polvo.
La limpieza es importante, pero la prevención es aún mejor. Sigue estos sencillos hábitos para minimizar la acumulación de polvo:
-
Mejora tu configuración: Evite colocar su mini PC directamente sobre una alfombra o una estantería polvorienta. Manténgala sobre una superficie de escritorio limpia donde haya menos polvo.
-
Cuidado con las mascotas: Si tienes gatos o perros que sueltan mucho pelo, mantén tu ordenador compacto en una posición elevada y revisa las rejillas de ventilación cada pocos meses.
-
Utilice el sistema de montaje VESA con prudencia: Si su mini PC está montado detrás de un monitor, asegúrese de que quede un espacio libre entre la parte posterior del monitor y el chasis del PC para una correcta entrada de aire.
(Para obtener una descripción general completa de cómo funciona el hardware compacto bien diseñado a lo largo del tiempo, vuelva a consultar nuestra Guía de compra de mini PCs 2026).
Conclusión
Un poco de mantenimiento preventivo marca la diferencia. Dedicar 15 minutos una o dos veces al año a limpiar el polvo garantiza que tu mini PC se mantenga silencioso, rapidísimo y fiable durante años de uso diario.
¿Busca actualizarse a un ordenador compacto moderno y altamente eficiente con gestión térmica avanzada? Explore la Colección de mini PCs BMAX para encontrar sistemas fiables y de alto rendimiento diseñados para una durabilidad a largo plazo.
Preguntas frecuentes (FAQ)
P: ¿Con qué frecuencia debo limpiar mi mini PC?
R: Para la mayoría de los usuarios, limpiar las rejillas de ventilación externas cada 3 a 6 meses y realizar una rápida revisión del polvo interno una vez al año es más que suficiente.Si tienes mascotas o vives en un ambiente polvoriento, es posible que quieras revisarlo con más frecuencia.
P: ¿Puedo usar una aspiradora para limpiar mi mini PC?
A: Recomendamos encarecidamente contra No utilice aspiradoras domésticas. Las aspiradoras generan mucha electricidad estática, que puede dañar instantáneamente los componentes sensibles de la placa base del ordenador. Utilice aire comprimido.
P: ¿Por qué el ventilador de mi mini PC hace tanto ruido de repente?
R: Un ventilador ruidoso suele indicar una de dos cosas: o bien el sistema está trabajando intensamente en una tarea exigente (como jugar o renderizar), o bien el disipador de calor está obstruido por polvo, lo que obliga al ventilador a girar al 100% para expulsar el calor acumulado. Limpiar el polvo suele solucionar el problema.
P: ¿Abrir mi mini PC para limpiarlo anulará la garantía?
R: Depende de las condiciones específicas de la marca. Muchos fabricantes diseñan los mini PC para permitir actualizaciones de RAM y almacenamiento (lo que significa que se permite abrir la carcasa), pero siempre es mejor consultar las directrices de garantía del fabricante antes de desmontar nada.