How to Set Up Dual Monitors on a Mini PC (Windows 11 Guide)

Mini PCs offer a remarkably compact footprint for modern workspaces. However, maximizing their productivity often requires a dual-screen configuration. Relying on a single monitor frequently bottlenecks professional workflows.
While Windows 11 natively supports multiple displays beautifully, the hardware constraints of micro-form-factor PCs introduce unique setup variables. You have to navigate limited physical ports, shared integrated graphics, and strict power limits—meaning they require a much more thoughtful approach than standard desktop towers.
A reliable mini PC dual monitor setup requires matching the right physical connections with the correct Windows display protocols. In this guide, you’ll learn exactly how to configure your devices for optimal performance, walk through hardware evaluation, cable selection, and dial in the precise Windows 11 settings needed for a flawless multi-screen experience.
Key Takeaways
-
Verify Video Outputs: Always check your Mini PC’s exact video output capabilities (HDMI, DisplayPort, or USB-C with DP Alt Mode) before purchasing cables.
-
Avoid Passive Adapters: When mixing port types on low-power devices, active adapters are necessary for stable dual-display signals.
-
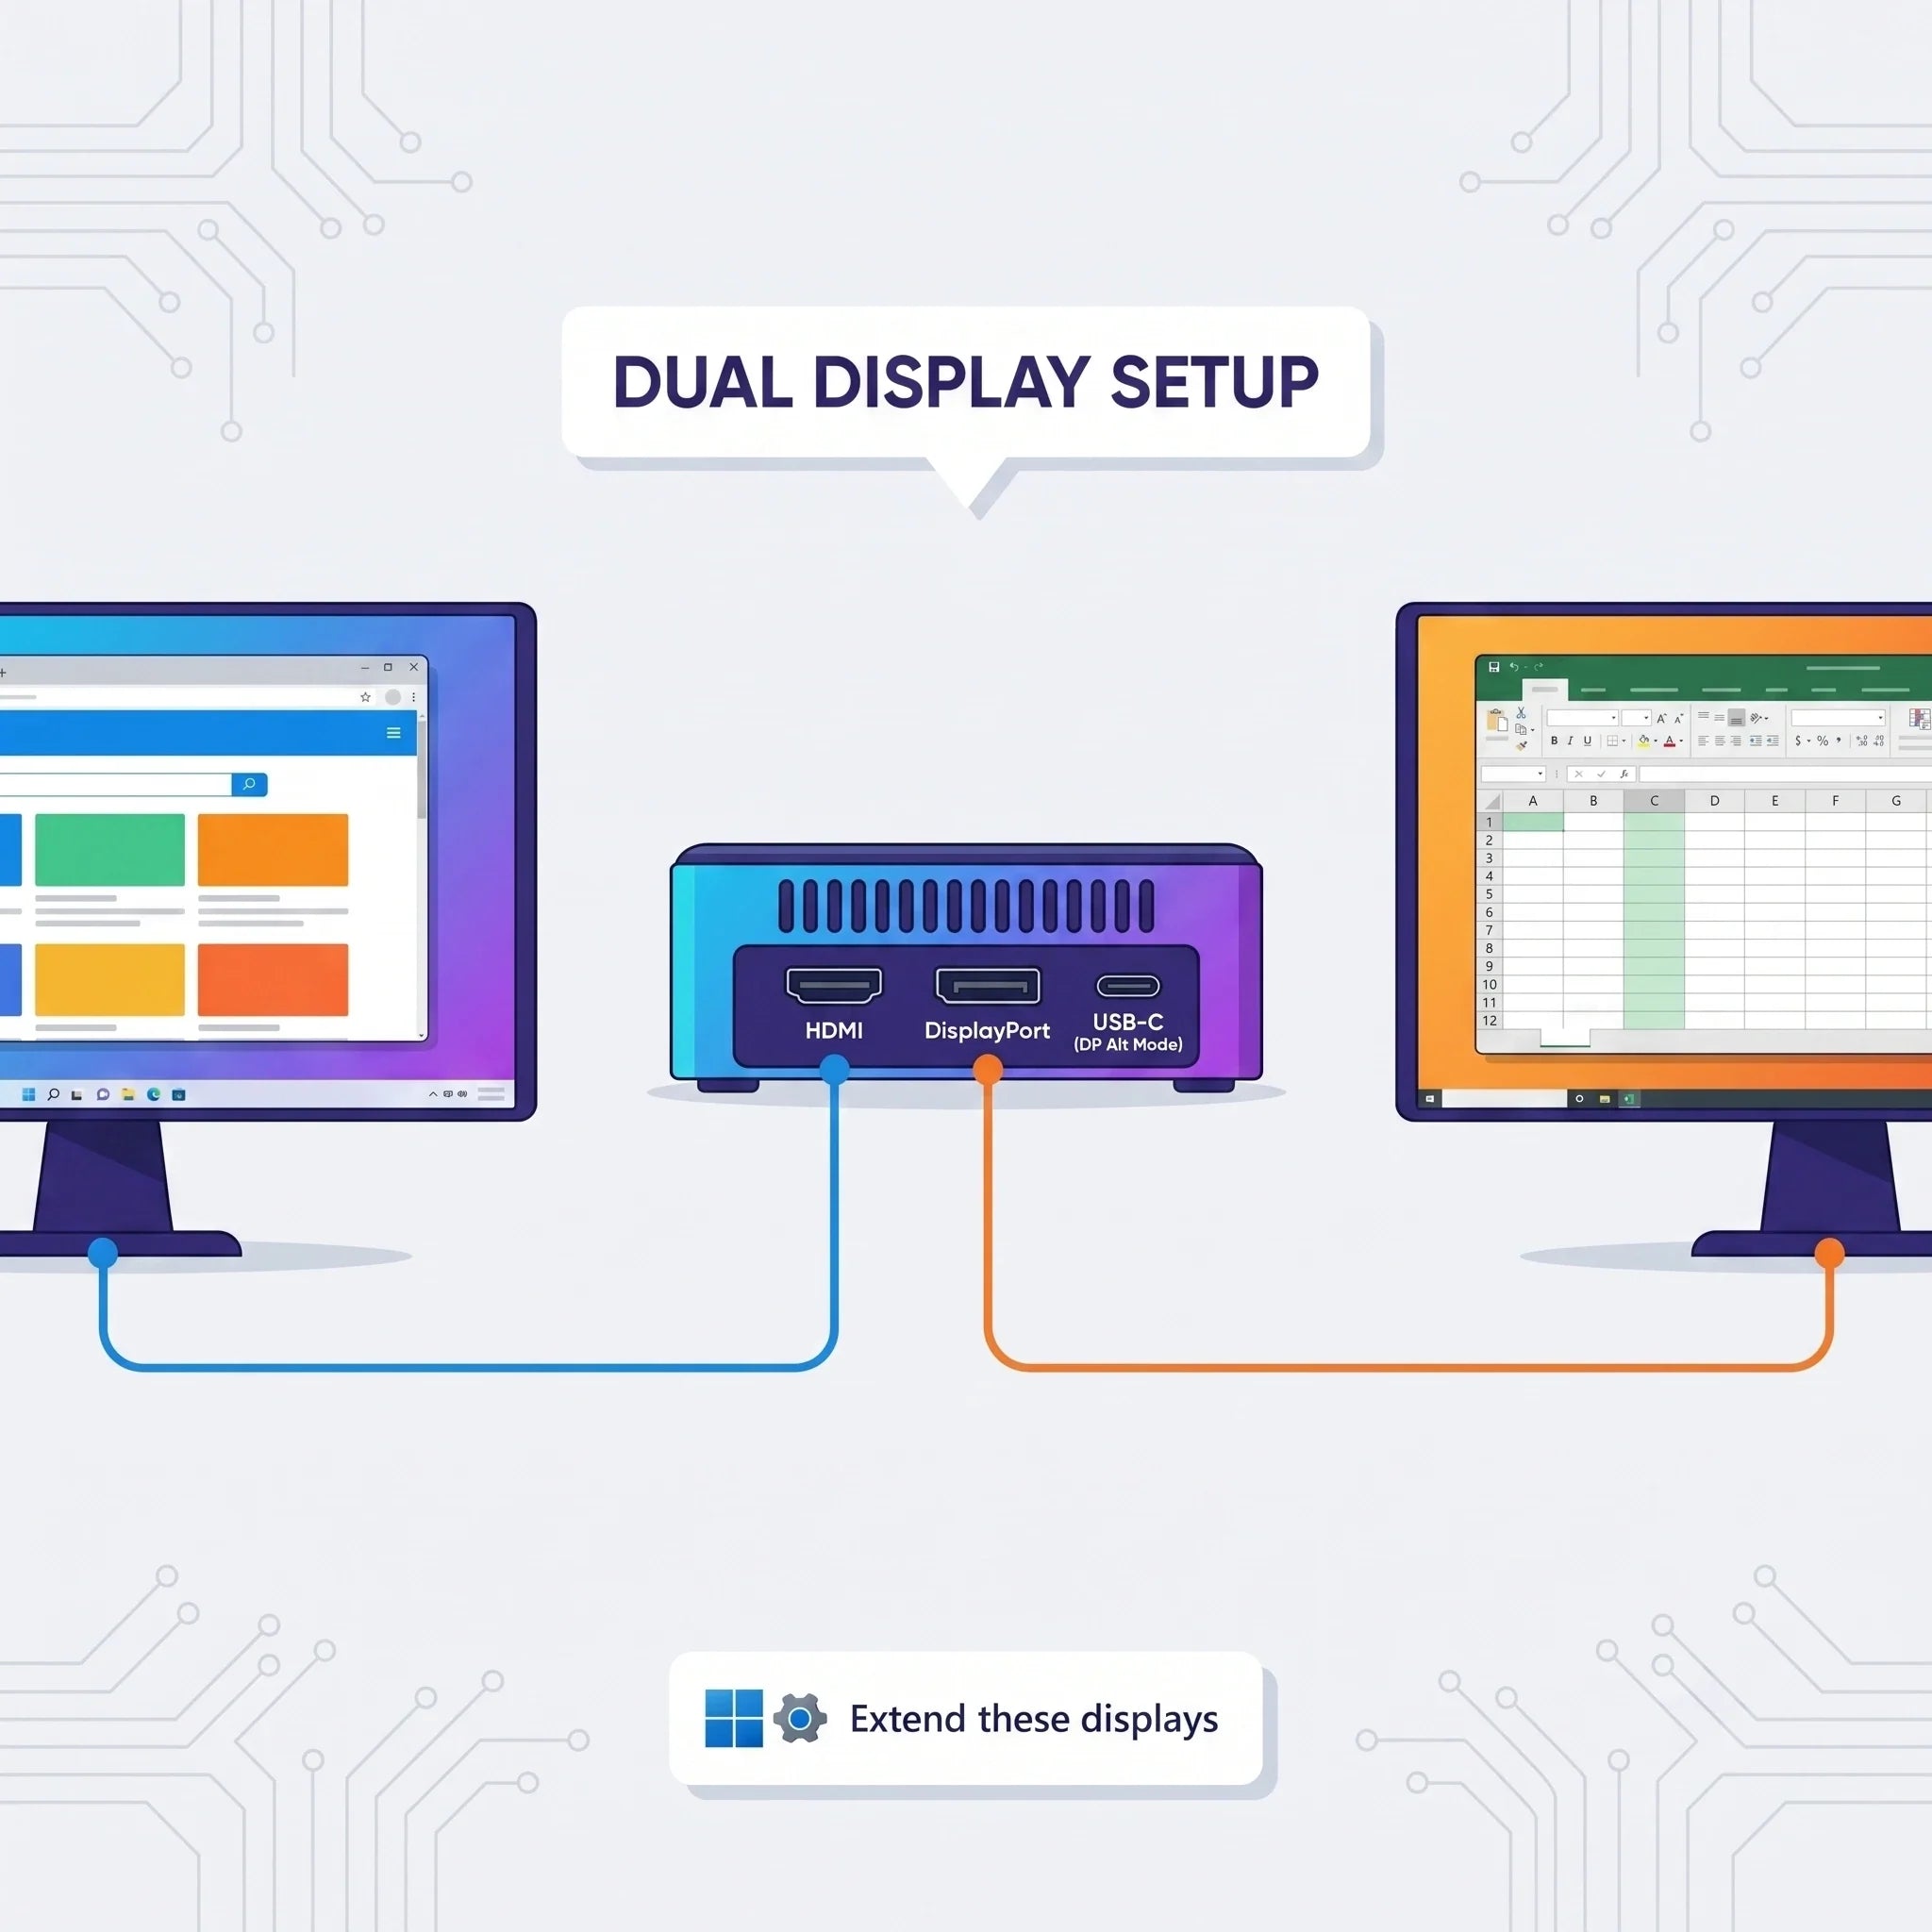
Windows 11 Configuration: Head to System > Display and select the "Extend these displays" protocol.
-
GPU Bandwidth: Integrated GPUs share system RAM; running dual 4K monitors may require adjusting refresh rates or scaling settings to maintain smooth performance.
1. Hardware Evaluation: Assessing Your Mini PC’s Video Outputs
You cannot build a functional dual-monitor workstation without understanding your physical hardware. Micro-form-factor computers utilize highly integrated motherboards, forcing manufacturers to compromise on physical port space.
Most modern mini PCs feature a specific combination of video outputs—typically HDMI, DisplayPort (DP), or USB-C. Inspect the back and front panels of your computer carefully. Look for standard rectangular HDMI ports, asymmetrical DisplayPort connections, or Mini DisplayPort shapes to prevent incompatible cable purchases.
The USB-C Variable
Many users mistakenly assume any USB-C port supports video output. Standard USB-C data ports will not output a video signal without a DisplayLink driver. You must verify your device supports "DisplayPort Alternate Mode" (DP Alt Mode) or Thunderbolt 3/4 by checking your manufacturer’s specification sheet. If the USB-C port lacks the DP or Thunderbolt logo, it likely only handles basic data transfer.
Bandwidth and GPU Limitations
Mini PCs rely heavily on integrated graphics (such as Intel Iris Xe or AMD Radeon Vega). These chips share your system RAM instead of having dedicated VRAM. Pushing two 4K screens at 60Hz requires significant processing power and specific port standards—ideally HDMI 2.0+ or DisplayPort 1.4+. Older HDMI 1.4 ports simply lack the bandwidth for dual 4K at smooth refresh rates.
2. Selecting the Right Cables, Adapters, and Hubs

Choosing the correct wiring infrastructure determines system stability. Direct connections (like HDMI-to-HDMI or DP-to-DP) represent the ultimate best practice, minimizing signal degradation and hardware handshake failures during boot sequences.
When mismatched ports require adapters, you must understand the difference:
-
Passive Adapters: Merely change the plug shape and rely on the computer to output the correct signal type. High risk of signal dropouts on mini PCs.
-
Active Adapters: Contain tiny integrated circuits that actively convert the video signal from one format to another. Strongly recommended when converting DisplayPort to HDMI on low-power PCs.
Quick Connection Protocol Guide
| Connection Method | Primary Use Case | Hardware Impact |
| Native Cable (e.g., HDMI to HDMI) | Matching computer and monitor ports | Zero performance loss; lowest GPU strain |
| Active Adapter | Converting DP to HDMI on low-power PCs | Maintains signal integrity; requires slightly more USB power |
| Passive Adapter | Short runs on high-power desktop towers | High risk of signal dropouts on mini PCs |
| MST Daisy-Chaining | Connecting two DP-enabled monitors | Reduces clutter; requires DisplayPort 1.2 or higher |
3. Step-by-Step Configuration in Windows 11

Software configuration relies on proper physical initialization. Connect both monitors to the computer before powering it on. Power on the monitors first, then the computer. This sequence forces the BIOS/UEFI to execute a complete hardware handshake, registering both displays before Windows even loads.
Once Windows 11 boots, follow these exact steps:
-
Right-click an empty space on your desktop and select Display settings (or navigate via Settings > System > Display).
-
Look for two numbered monitor icons at the top. (Click "Detect" if the second screen remains unresponsive).
-
Scroll down to the multiple displays section and select "Extend these displays" from the dropdown menu.
Arranging and Setting Your Main Display
Windows doesn't automatically know how your physical monitors sit on your desk. Click and drag the numbered monitor icons in the Windows 11 UI to match your exact physical arrangement, aligning the top edges for smooth mouse tracking.
Finally, select your preferred main monitor icon, scroll down, and check "Make this my main display" to lock your system tray and default taskbar to your preferred screen.
4. Optimizing Resolution, Scaling, and Refresh Rates
-
Resolution Matching: Always choose the resolution marked "(Recommended)" in the dropdown. Mismatching resolutions without native settings causes severe text blurriness.
-
Scaling: If you pair a 27-inch 4K monitor with a 24-inch 1080p display, dragging windows between them causes a jarring size shift. Set the 4K screen to 150% scale and keep the 1080p screen at 100% scale for uniform UI sizing.
-
Refresh Rate Management: Windows occasionally defaults to 30Hz on lower-end mini PCs, causing mouse lag. Fix this by going to Advanced display > Choose a refresh rate and manually forcing 60Hz.
5. Troubleshooting Common Mini PC Display Issues
-
"No Signal" or Black Screen: Ensure cables are secure, check your monitor’s OSD input source, and update your Intel or AMD graphics drivers via Device Manager.
-
Flickering Screens: Usually caused by bandwidth limitations or cheap, unshielded cables. We strongly recommend using VESA-certified cables.
-
Sleep Mode Wake Issues: A known Windows 11 bug where secondary monitors fail to wake up. Disable "ULPS" (Ultra-Low Power State) in your AMD Adrenalin or Intel Command Center software, or update your system BIOS.
Conclusion
Establishing a mini pc dual monitor setup transforms a basic workstation into a productivity powerhouse. Success depends on careful preparation: mapping native ports accurately, selecting appropriate active adapters, and configuring Windows 11 thoughtfully.
When shopping for future upgrades, prioritize micro computers featuring at least two dedicated, high-bandwidth video ports (like HDMI 2.1 or DisplayPort 1.4) built natively into the chassis to avoid relying on fragile dongles.
Ready to elevate your desk setup? Explore the BMAX Mini PC collection to find high-performance, dual-screen capable models.
Frequently Asked Questions (FAQ)
Q: Can any Mini PC run dual monitors?
A: Most modern units can comfortably drive two screens. However, physical port availability dictates your setup method. Always check for explicit dual-display support in the manufacturer specification sheet.
Q: Will a dual monitor setup slow down my Mini PC?
A: For general office work, no. However, driving twice the pixel count requires more shared RAM allocation, which may slightly impact heavy graphical tasks or gaming across multiple screens.
Q: Can I use a USB-A port for a second monitor?
A: You can only achieve this using a dedicated DisplayLink adapter. This hardware requires proprietary drivers, consumes CPU resources, and introduces noticeable latency—making it suboptimal for high-definition video playback or gaming.